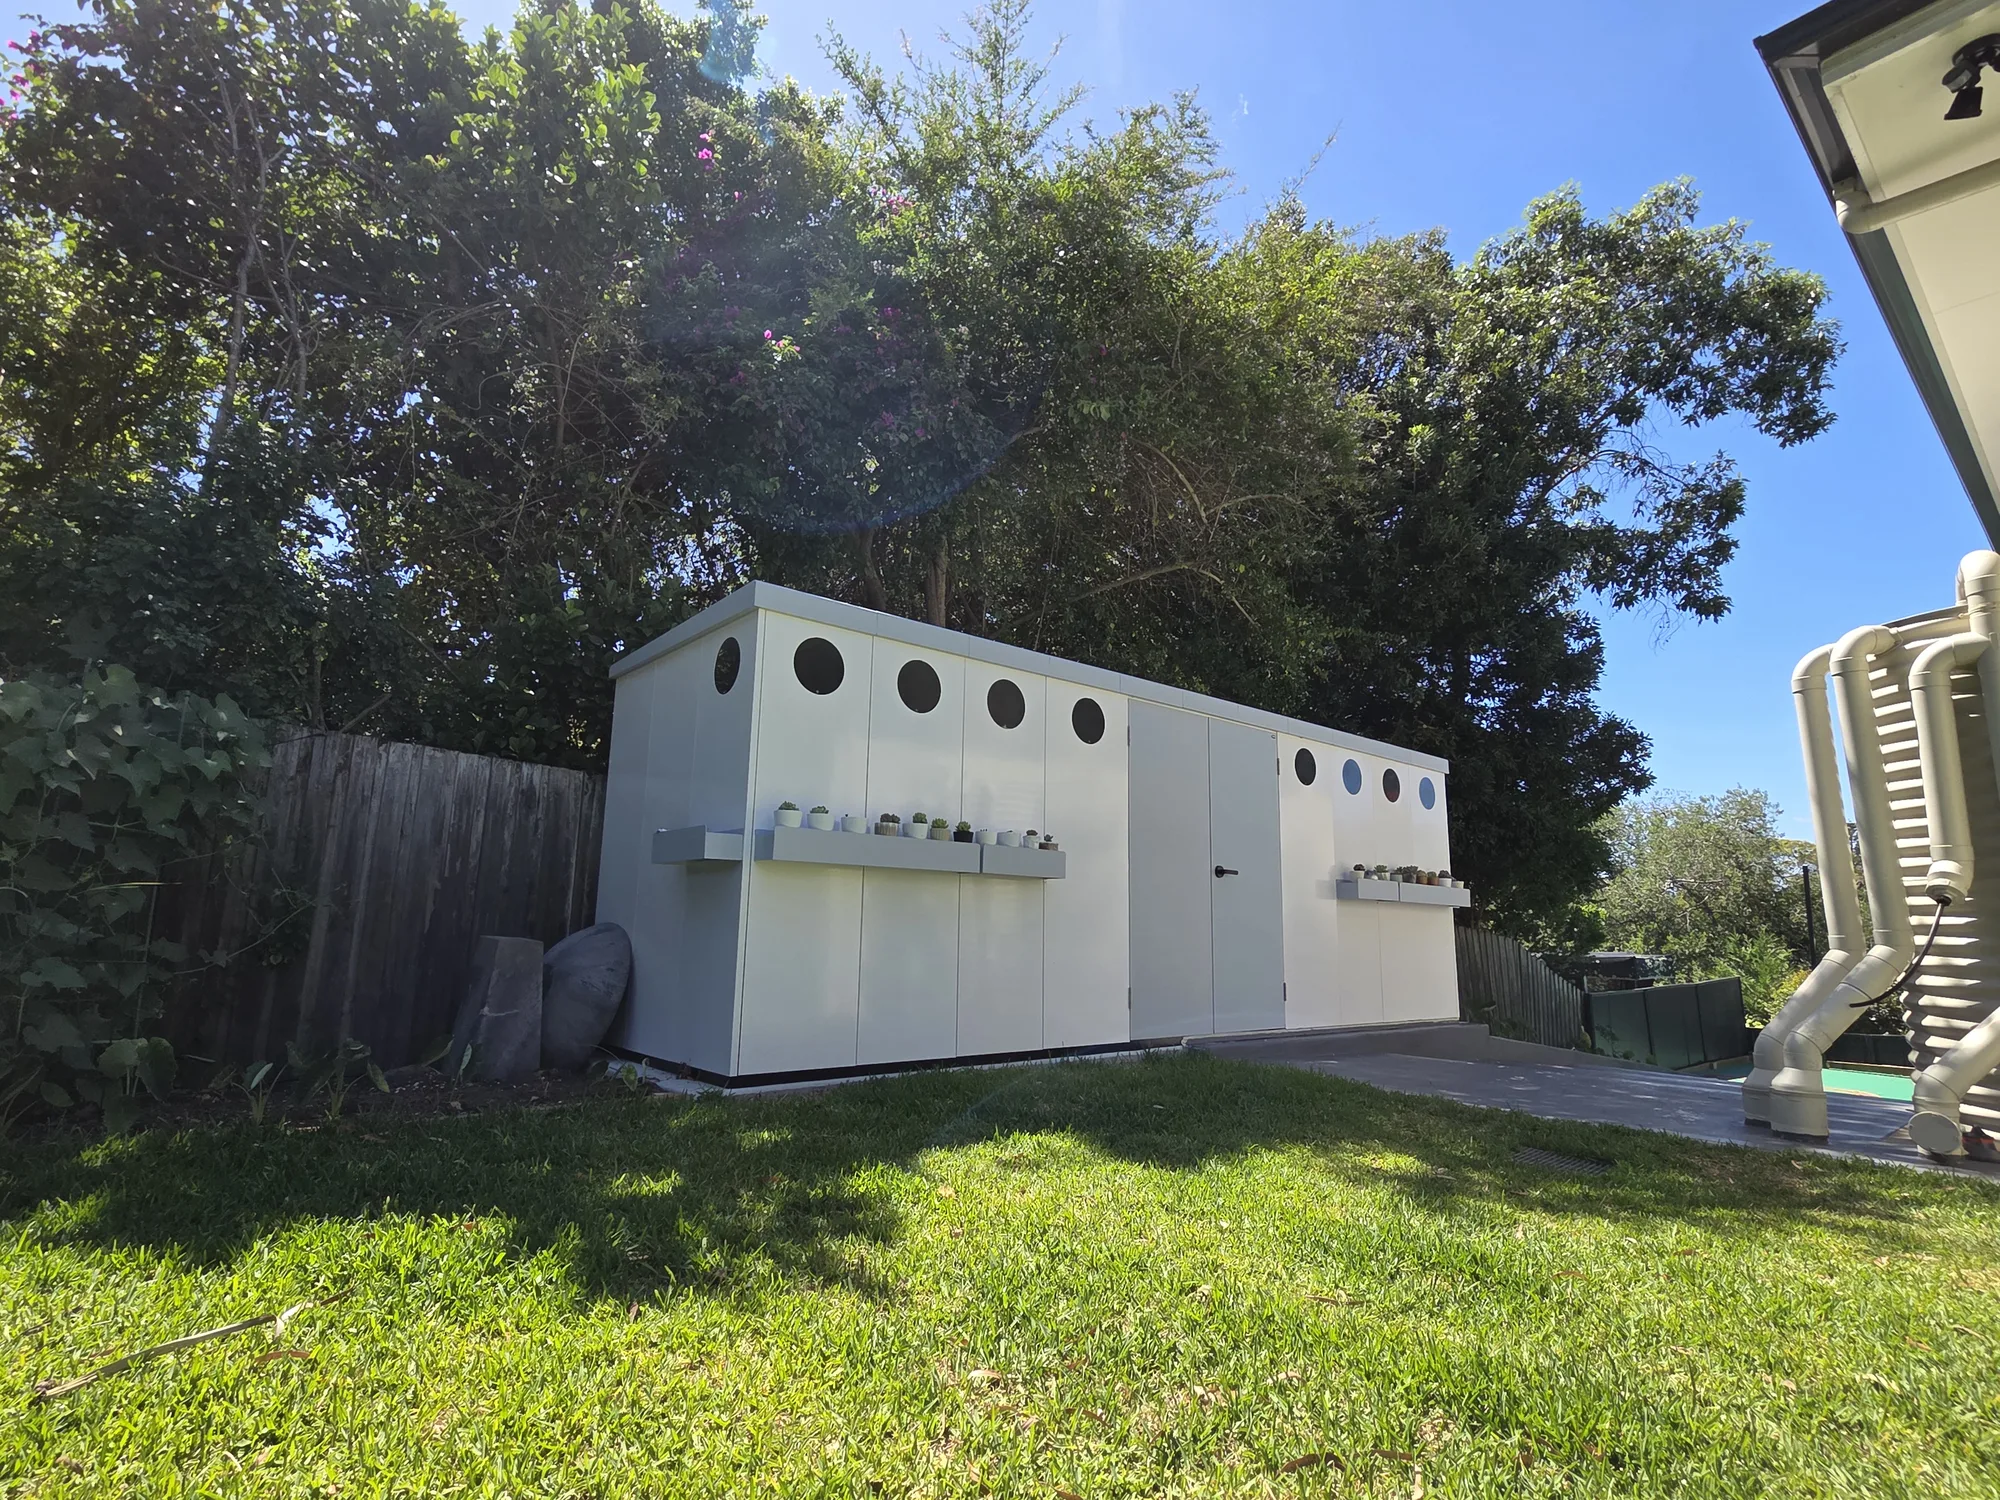
A metal garden shed is a light structure, and light structures are unforgiving of bad bases. If the ground is out of level, the panels will not align, the doors will bind and the roof will collect water at one corner. The installation guide that ships with the product usually covers assembly; this article covers the part that happens before the first panel is unpacked.
Choose the base
Three base types cover most domestic installations:
- Concrete slab. The most stable option. A 75–100 mm slab on compacted hardcore, with a slight fall away from the shed, suits most sheds up to 3 × 3 m. Allow the concrete to cure before assembly.
- Paving slabs on a compacted sub-base. Good where drainage and removability matter. Use solid slabs rather than decorative perforated blocks, and check level across the whole footprint, not just under the corners.
- Timber frame with gravel infill. Acceptable for lightweight storage cabinets and where a concrete base is not permitted. The frame must be treated and the gravel must drain.
Whichever you choose, the finished surface should be level to within about 5 mm across the footprint, and it should extend slightly beyond the shed so rainwater does not run back under the base rail.
Anchoring
Anchoring is not only about wind. It also stops the shed walking as the ground moves. The method depends on the base:
- Concrete: masonry bolts or expansion anchors through the base rail, one at each corner and at intervals of about 600 mm.
- Paving: screw fixings into the slab, or a perimeter frame bolted to the slabs.
- Timber: coach screws through the base rail into the frame.
In exposed or coastal locations, use stainless anchors and check the manufacturer’s wind rating. A shed rated for 100 km/h needs the anchor specified for that load, not a generic wall plug.
Drainage and the base rail
Water trapped against the base rail is the most common cause of premature corrosion. Keep the following in mind:
- Set the base so the finished floor is at least 25–50 mm above the surrounding ground.
- Do not seal the bottom of the shed to the slab in a way that traps water; allow the base rail to drain.
- Direct roof runoff away from the walls with a gutter or a gravel strip.
- On sloping ground, cut the slope into the base rather than packing one side with bricks.
Assembly sequence
Follow the manual, but the sequence that avoids most problems is: base rails, corner posts, wall panels, roof beams, roof panels, door, then accessories. Leave fixings finger-tight until the frame is square, check the diagonals, then tighten from the centre outward. Fit the door last so that it is aligned to a structure that has already settled into position.
Two people can assemble a typical 2.5 × 2 m shed in three to five hours. A powered screwdriver with a torque clutch saves time; a spirit level and a tape measure decide whether the result is square.
After installation
Wash the shed once a season with fresh water and a soft brush. Inspect the base rail and the cut edges for scratches, and touch up with the zinc-rich pen supplied. Check the door track for grit and lubricate hinges sparingly with a silicone spray rather than oil, which attracts dust. In coastal areas, rinse more often and inspect fixings at the same time.
Most of the maintenance is visual, and ten minutes twice a year is enough to catch the small touch-ups before they become panel replacements.
What we include
Every Motton shed ships with a printed manual, a labelled fixing bag and a touch-up pen. If you are installing a run of sheds for a project, ask us for the digital manual and a pre-installation checklist — it is faster to brief an installation team once than to answer the same question five times on site.